
Adding Images
Adding images to a Plone web site is a basic task that may involve a little work on your local computer, but is essential, because photographs, maps, and custom graphics are so important on web sites.
Remember to use web-standard file formats for all images. Acceptable formats include: JPG, JPEG, GIF, and PNG. Do not use BMP or TIFF formats as these are not widely supported by web browsers.
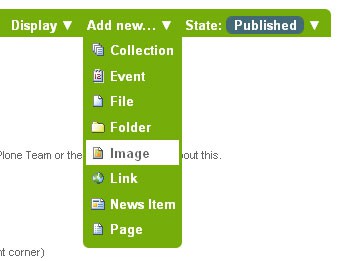
When you are ready to upload an image, use the Add new... drop-down menu (You will only see the Add new... menu after logging in):
After clicking to add an Image, you'll see the Add Image panel:
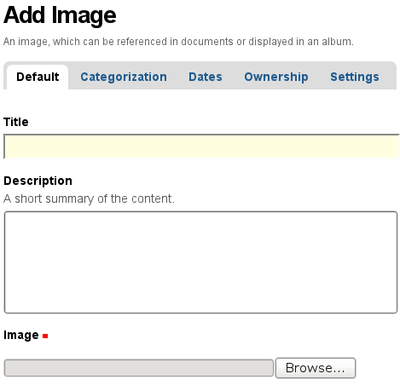
The Title and Description fields (field, as in "data input field") are there, as with adding a Folder, and at the bottom there is a place to upload an image. Let's look at the three input fields individually:
- Title - Use whatever text you want, even with blanks and punctuation (Plone handles web addressing).
- Description - Always a good idea, but always optional. Leave it blank if you want.
- Image - The Image field is a text entry box along with a Browse... button. You don't have to type anything here; just click the Browse button and you'll be able to browse you local computer for the image file to upload.
For images, at a minimum, you will browse your local computer for the image file, then click Save at the bottom to upload the image to the Plone web site. You'll have to wait a few seconds for the upload to complete (or a minute or so, if you have a slow Web connection). A preview of the uploaded image will be shown when the upload has finished.
As of Plone 4, images and files that are uploaded into Plone have their IDs (URLs) based on the title that is given to the image (instead of the file name of the image or file). Since the title field is not required, if you do not fill it out, the name of the item will default to using the name of the file in place of the title.